Mask
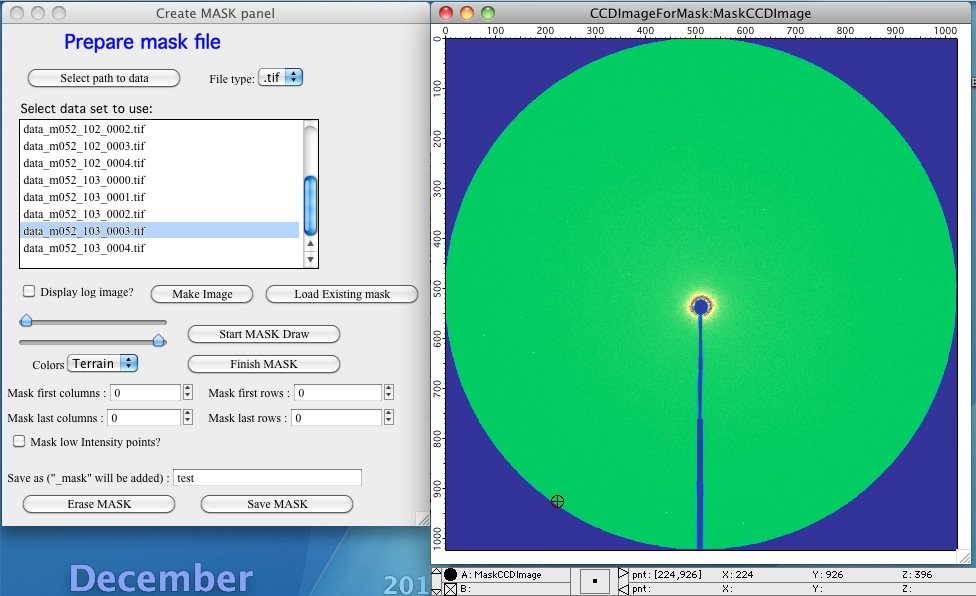
To create a mask, use the “Create mask” tool from either the SAS 2D menu or the Mask tab on the main panel. Select the image you want to use for building the mask.
Click “Make Figure” to display the image. Adjust the log display checkbox, sliders, and Colors popup to reveal detail as needed. Then click “Start MASK draw” to begin drawing the mask, which activates the drawing toolbar on the graph.
Use Igor’s drawing tools (rectangle and others) to cover the areas to be masked out. You can zoom in and out for precision, but you must switch between drawing tools and graph navigation tools using the toolbar on the left side of the graph. On macOS, the toolbar may sometimes be hidden behind the panel.
To mask the first or last rows or columns of the image, use the “Mask first/last columns/rows” input fields. This adds rectangles to the existing drawn objects:
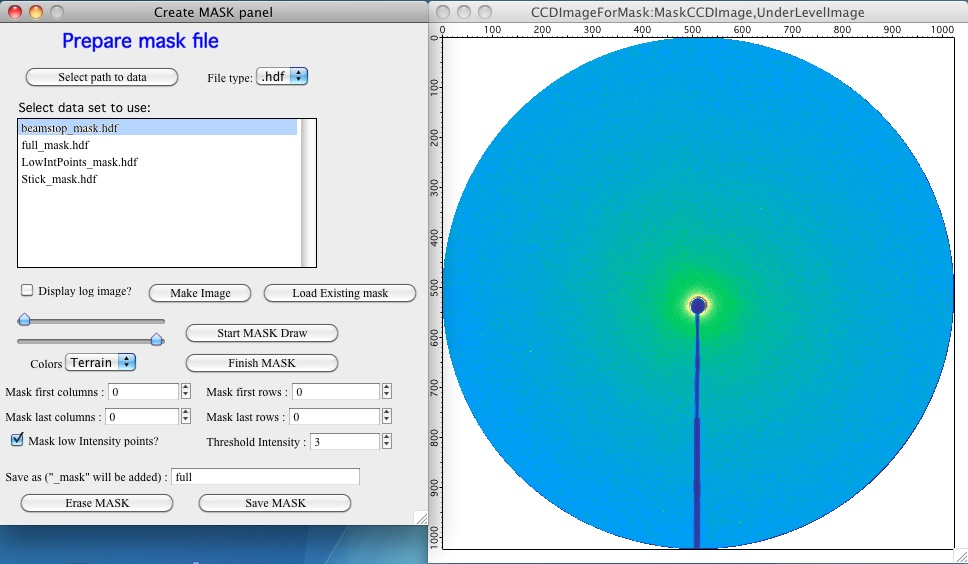
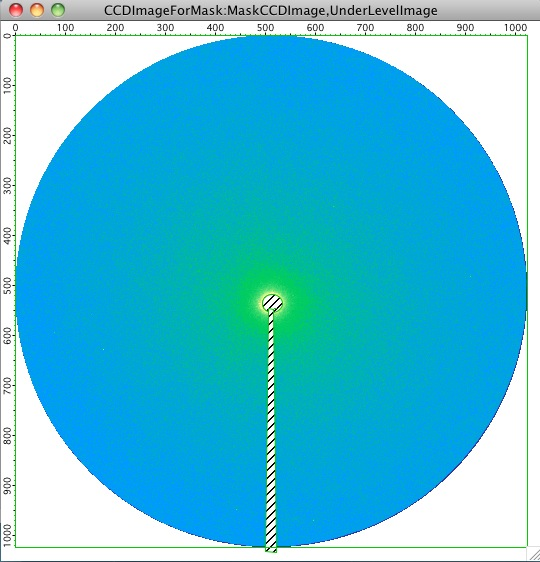
For images where some regions contain no useful data (for example, a MarCCD image where the scintillator material is circular but the CCD is rectangular), use “Mask low intensity points” with an appropriate threshold value.
Note
The threshold value depends on whether you are using the raw image or its logarithm. For example, if corner pixels are set to zero and the dark background is approximately 100 counts, a threshold of 3 safely removes the empty corners without affecting valid data.
When finished, click “Finish MASK” to return the image to regular display mode. To continue drawing, click “Start MASK draw” again — previous drawings are preserved.
Save the mask with a descriptive name. The code appends _mask.hdf
automatically. The saved mask is immediately available to the code and can be
reloaded from the HDF file at any time.
Note
Prior to version 1.49, Nika used TIFF files for mask storage. Nika can still load TIFF masks, but saves only HDF files going forward. HDF masks store both the image used for analysis and a recreation macro, enabling partial masks to be saved separately and combined later.
Editing and compositing masks
HDF mask files can be created in parts and combined into a composite mask. For example, if a detector has known bad pixels, that mask can be stored separately and reused across multiple experiments, with geometry-specific masks added for each setup.
The following example shows building a composite mask in three parts:
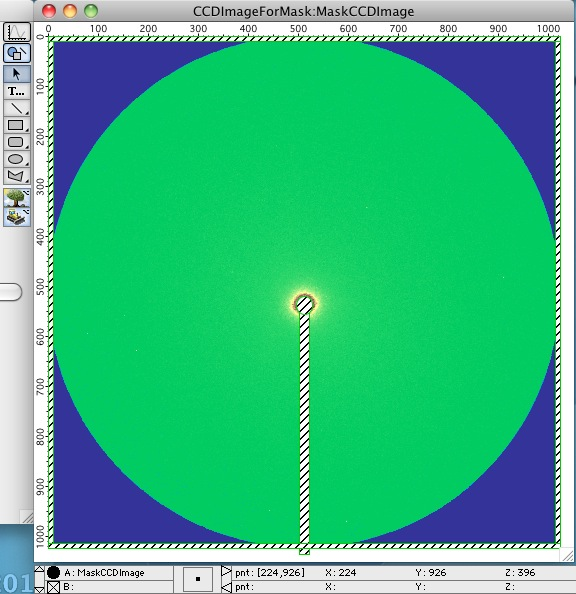
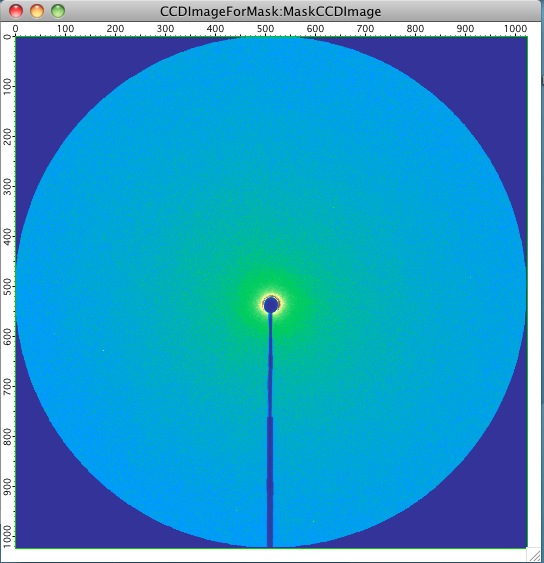
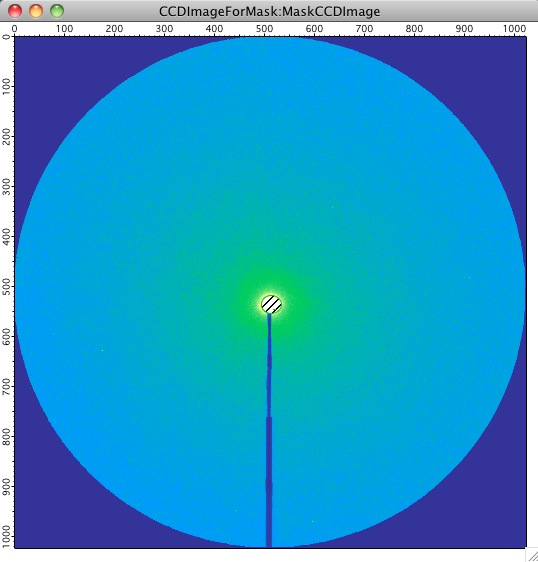
Starting with the raw image and no mask:
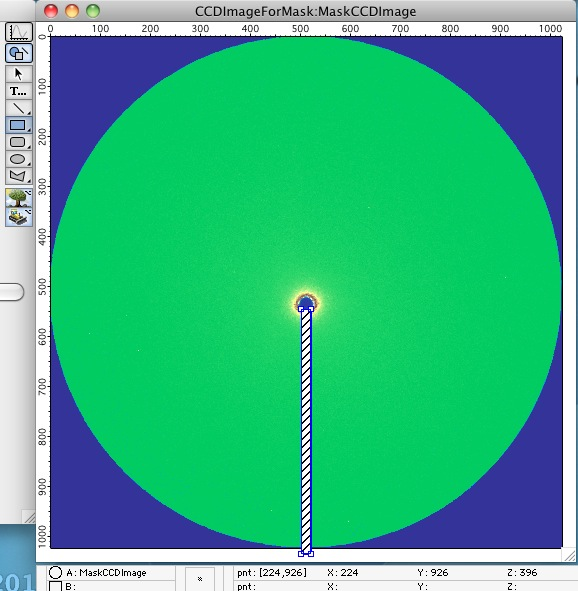
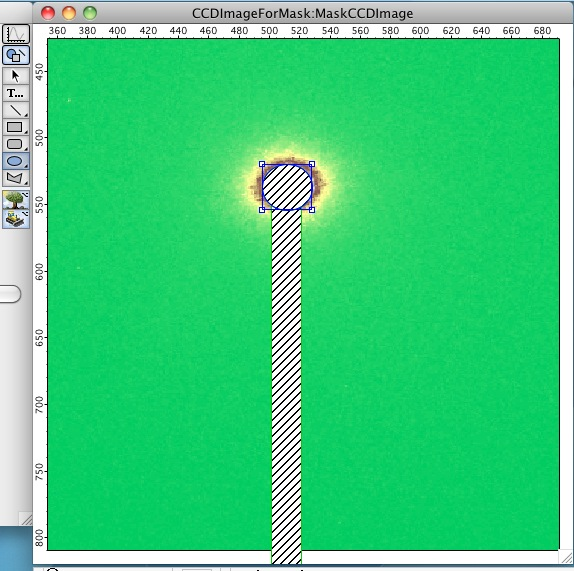
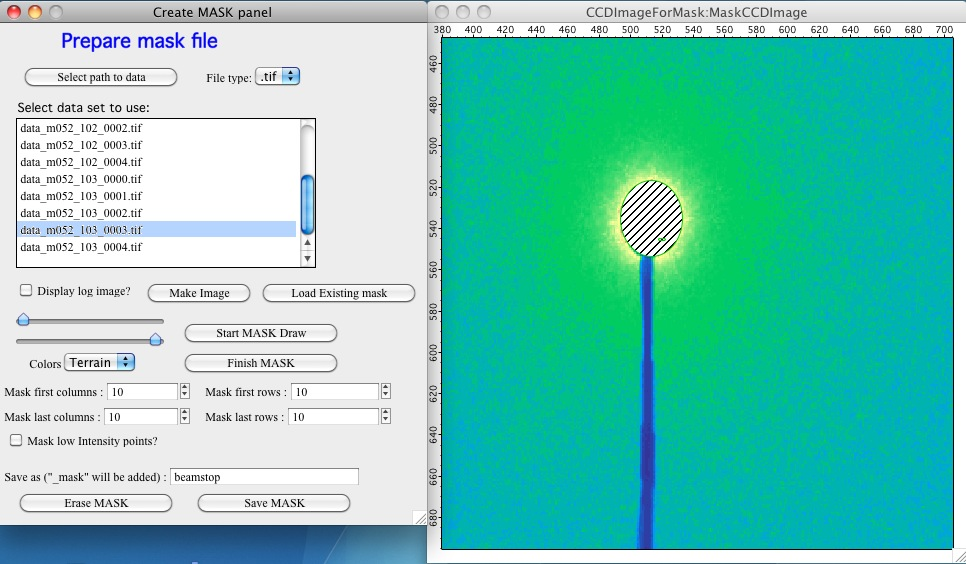
Beamstop mask:
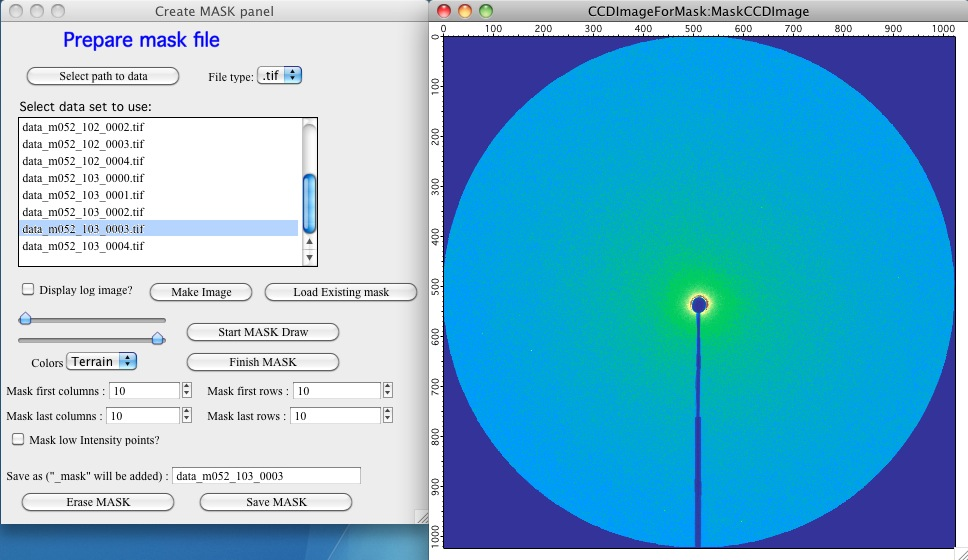
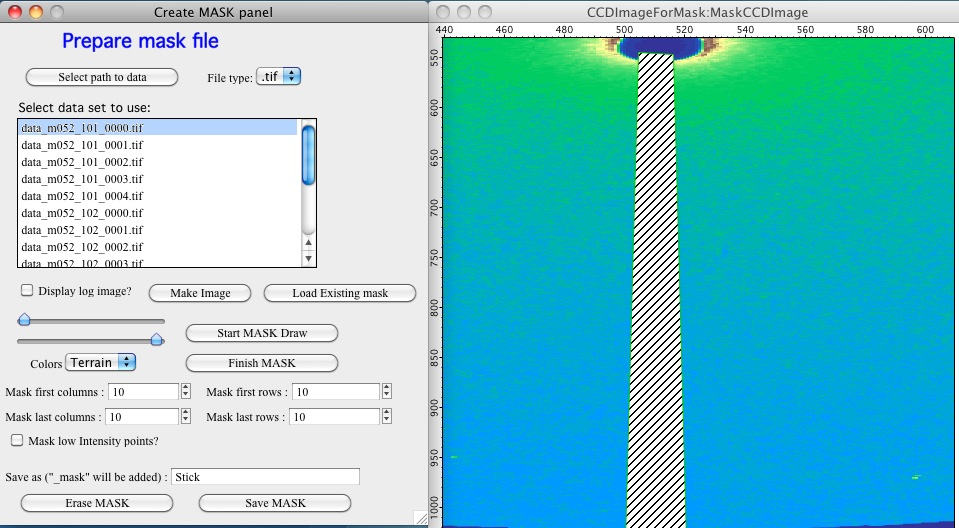
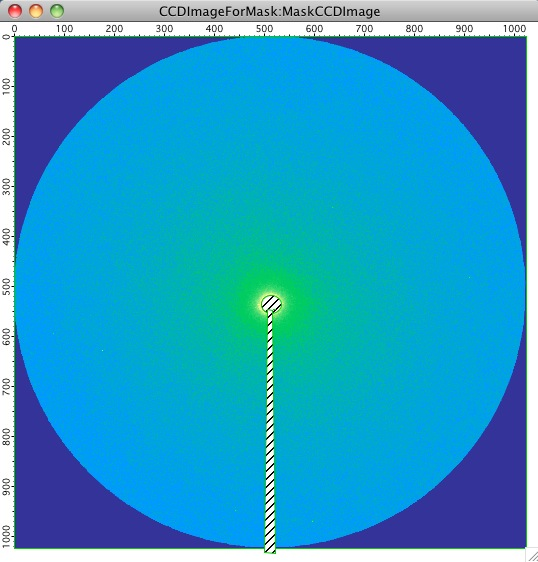
Stick (beamstop rod) mask:
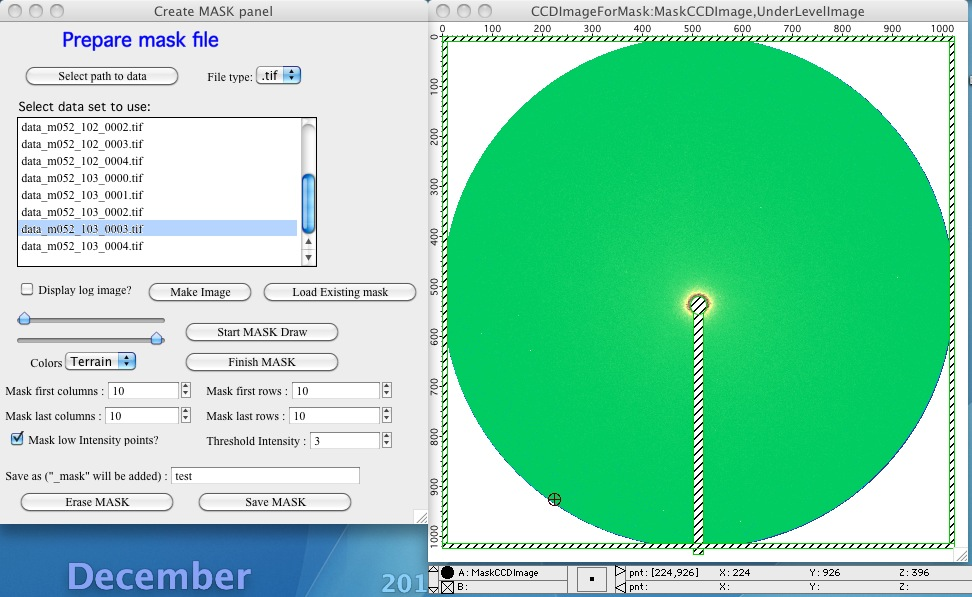
Low-intensity points mask:
For each component, “Start MASK draw” was clicked, the appropriate regions
were defined (by drawing or threshold settings), “Finish MASK” was clicked,
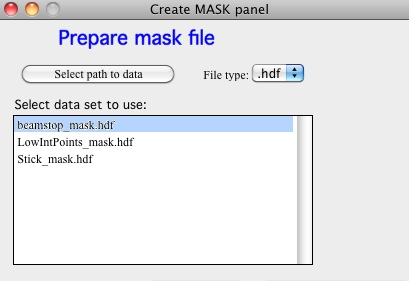
and the mask was saved with a descriptive name. The resulting .hdf files
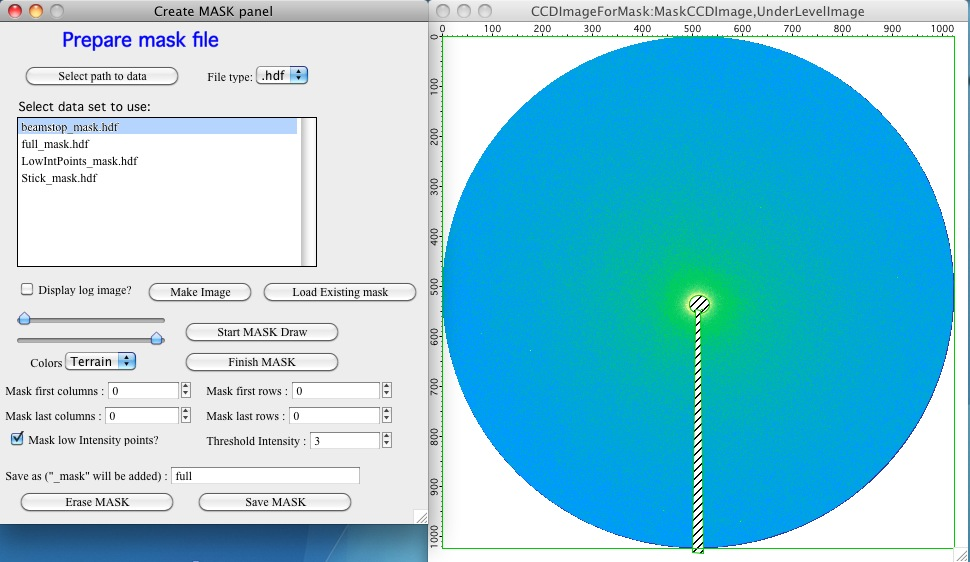
are visible alongside the data files when the HDF file type is selected:
To build the composite mask, create a new image from your data and load the
component masks sequentially using “Load existing mask”. Additional drawn
regions can be added at any point. The final composite mask can then be saved
as, for example, full_mask.hdf.
The four steps of mask accumulation — original, plus beamstop, plus stick, plus low-intensity points:
Final composite mask: